
Setup Shopify
Before you can access data from users using Shopify, you need to follow the next steps in Shopify and in the Dashboard.
Make sure you read Shopify's integration requirements before proceeding with this guide.
You'll need to:
- Create your Shopify app.
- Submit your app to Shopify.
- Add your secure keys to Accounting Data as a Service™.
Create your Shopify App
To create and configure an app in Shopify, follow the next steps:
If you dont have one, create a partner account.
- Log in to the Shopify Partners using your credentials.
- From the left sidebar navigation, click on Apps then click Create app.
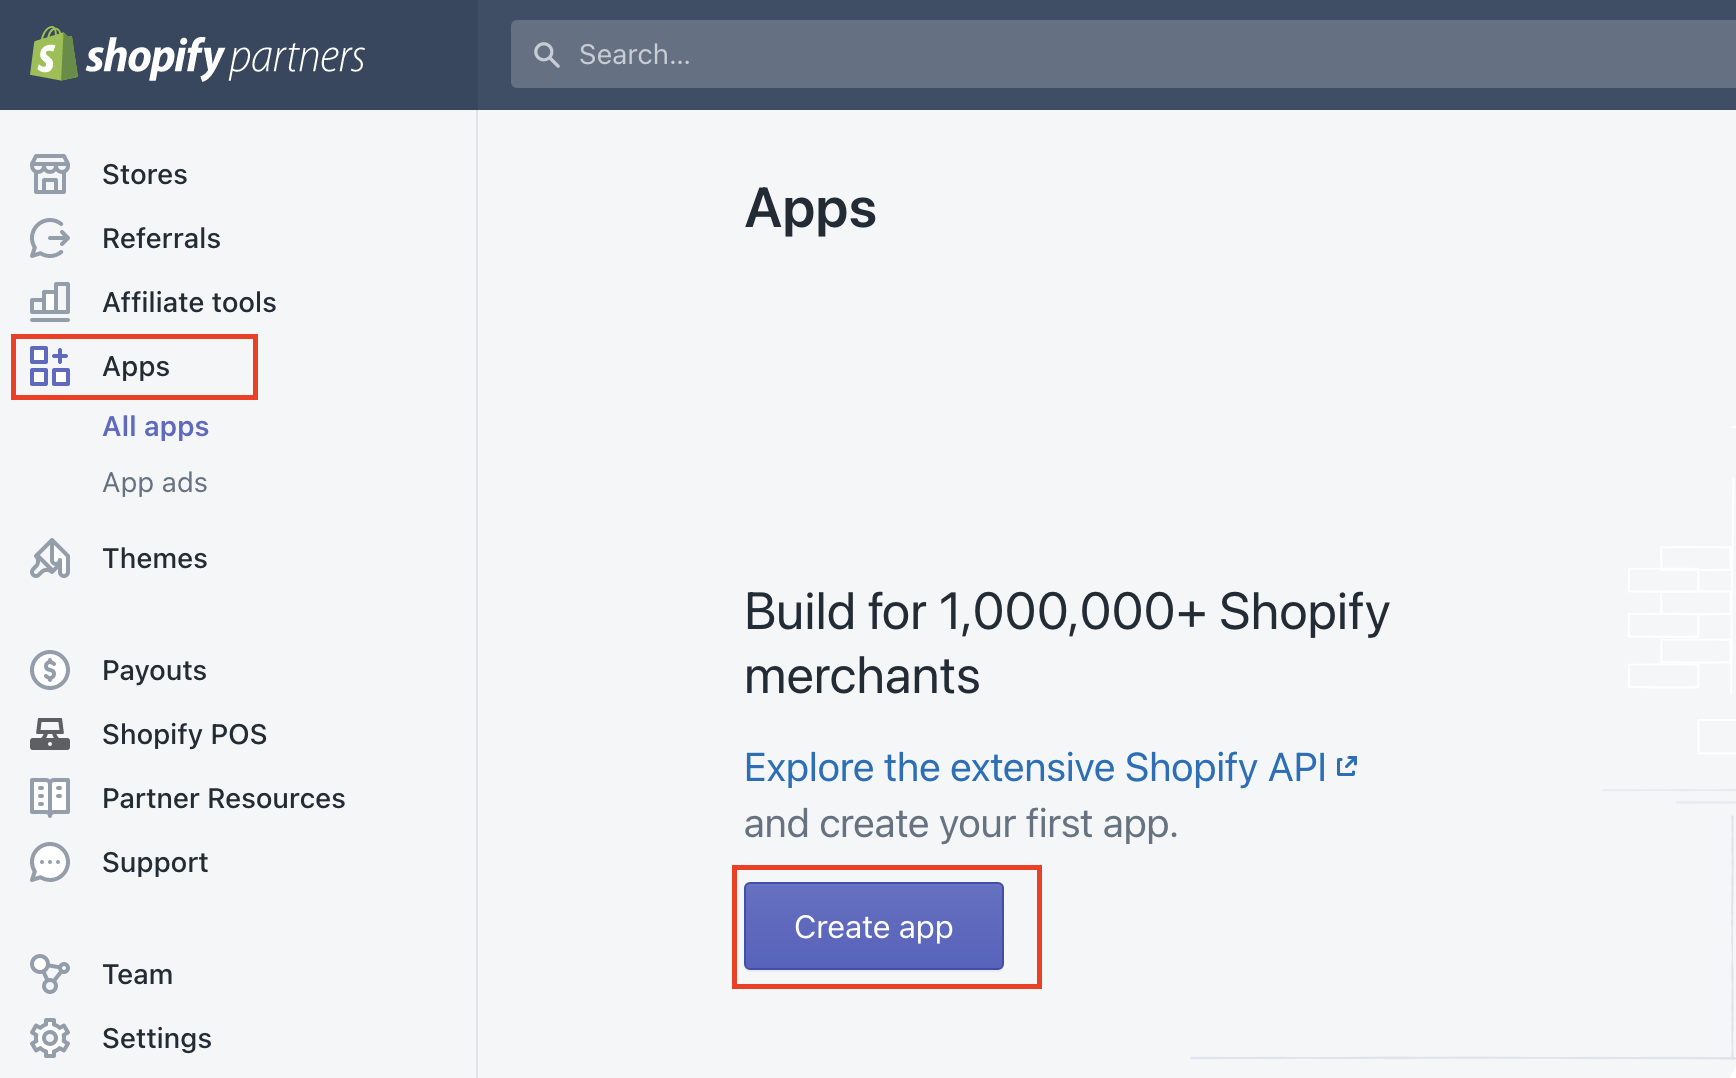
Create Apps page in Shopify partners portal. Click to Expand.
-
In the Use Shopify Partners box on the right, click the button Create app manually.
-
On the Create an app manually page, enter the prompted information:
- General settings
- App name: Enter a name for your app. The app name is displayed to your users when connecting, so should have your company or application name.
- App URL: Enter a URL for your app.
Use this URL when you submit your app to Shopify for review.
- Redirection URLs
- Allowed redirection URL(s): Enter
https://auth.railz.ai/shopify
- Allowed redirection URL(s): Enter
- General settings
-
Click Create app. Once the app is created you will be redirected automatically to the app page where you will see your API Key & API Secret Key. You'll need these for the next steps of the process.
-
From the left sidebar navigation, click on the App setup to view the app's settings.
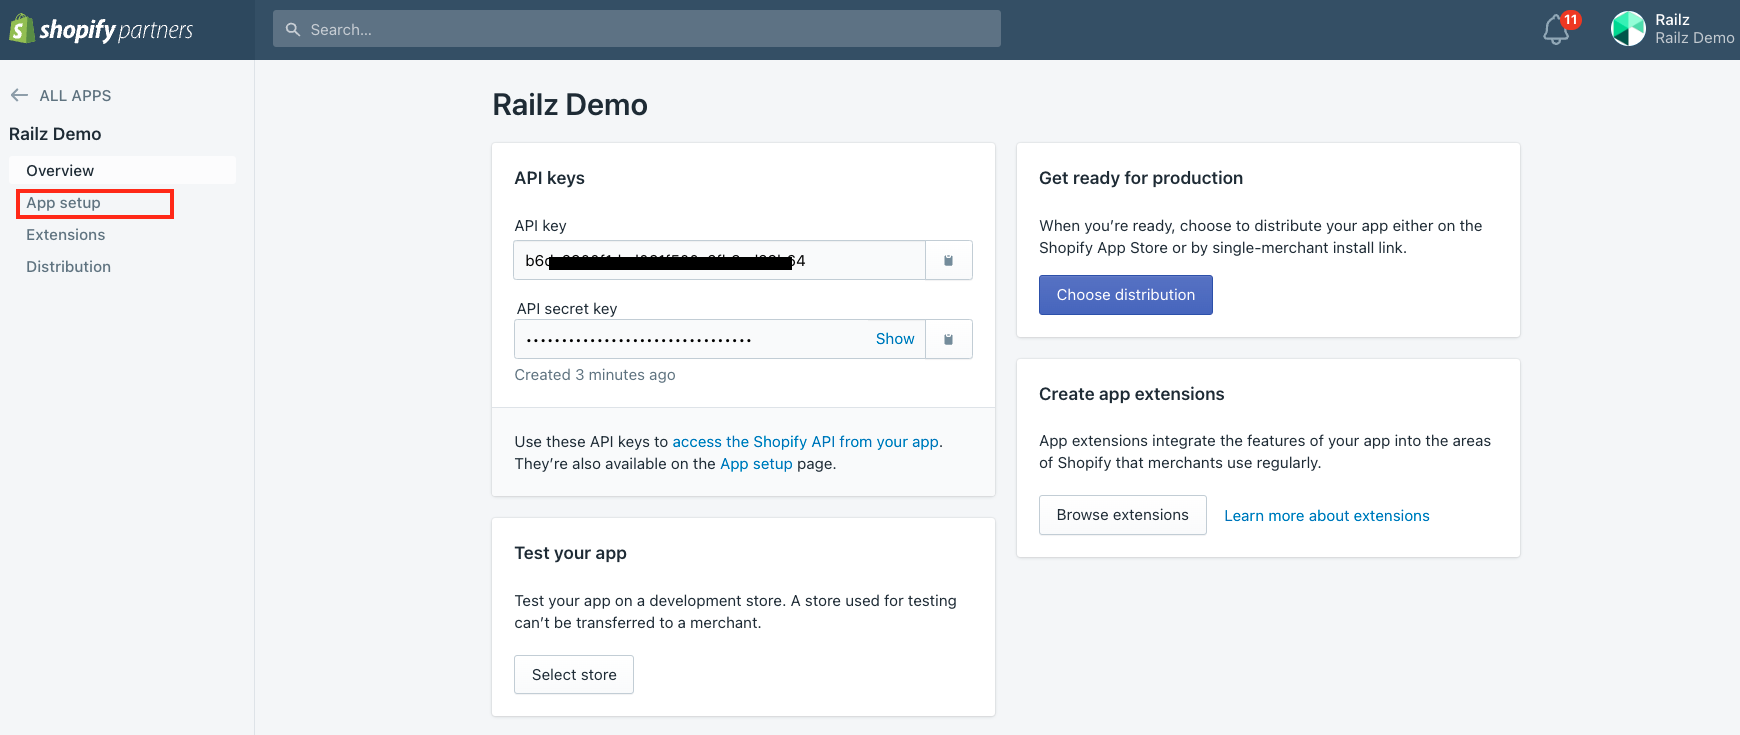
App details in the Shopify partner portal. Click to Expand.
- Scroll to the GDPR mandatory webhooks section of the page and enter the following mandatory Accounting Data as a Service™ webhook URLs:
| Webhooks | URLs |
|---|---|
| Customer data request endpoint | https://auth.railz.ai/shopify/customer/request |
| Customer data erasure endpoint | https://auth.railz.ai/shopify/customer/redact |
| Shop data erasure endpoint | https://auth.railz.ai/shopify/shop/redact |
Mandatory Webhooks
You will need to setup and enabled the GDPR Customer Request and Connection Disconnected webhook events. See webhooks for more details.
- OPTIONAL: If you need access to over 60 days of order data, scroll to the Orders section of the page. In the Read all orders box, click on the Request access button and enter the information requested and click on Request access to submit.
- Click the Save button that appears at the top of the page.
API Key & API Secret Key
You can check your app's API key and API secret key in the App credentials section of the App setup page. You'll need these for the next steps of the process.
Submit your App to Shopify
Your app must be approved by Shopify before you can use the integration with Accounting Data as a Service™ to connect a production store. The review and approval process might take up to two weeks.
Shopify App Submission Documentation
Click here, if you prefer to use Shopify's version of the documentation below.
To submit your app to Shopify, in the Shopify Partners portal:
- Click the name of your app.
- From the left sidebar navigation, click Distribution.
- On the Distribution page, click Choose Shopify App Store then confirm the selection.
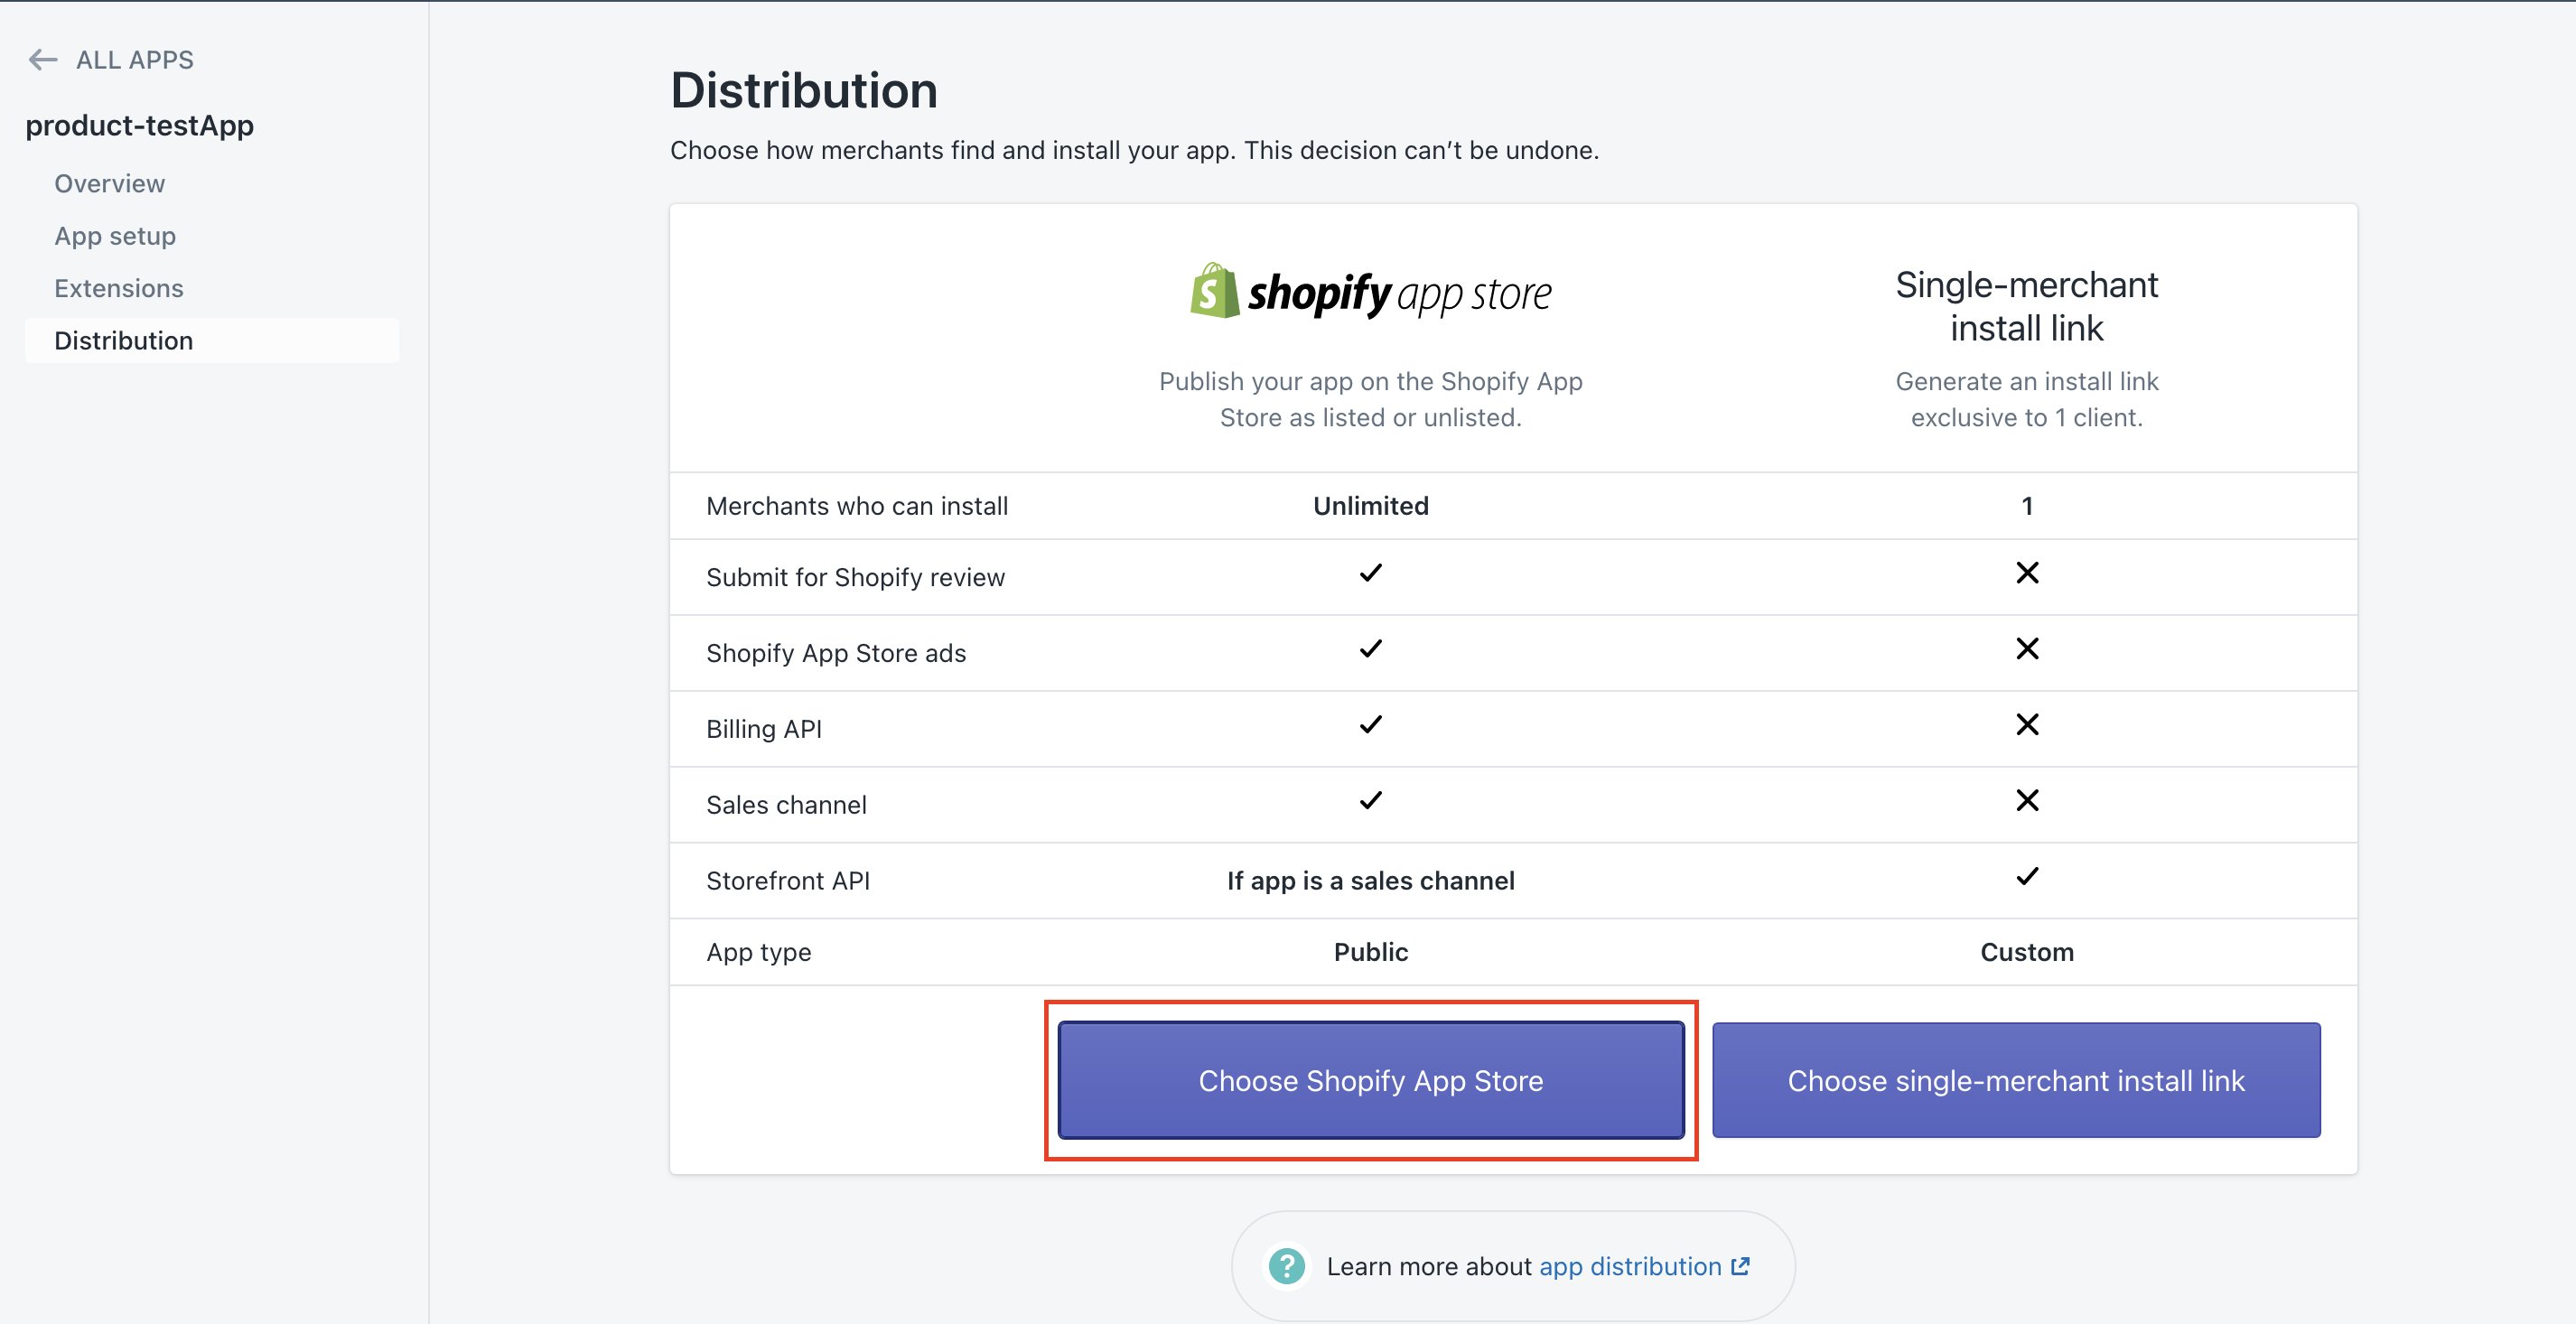
Submit App to Shopify page. Click to Expand.
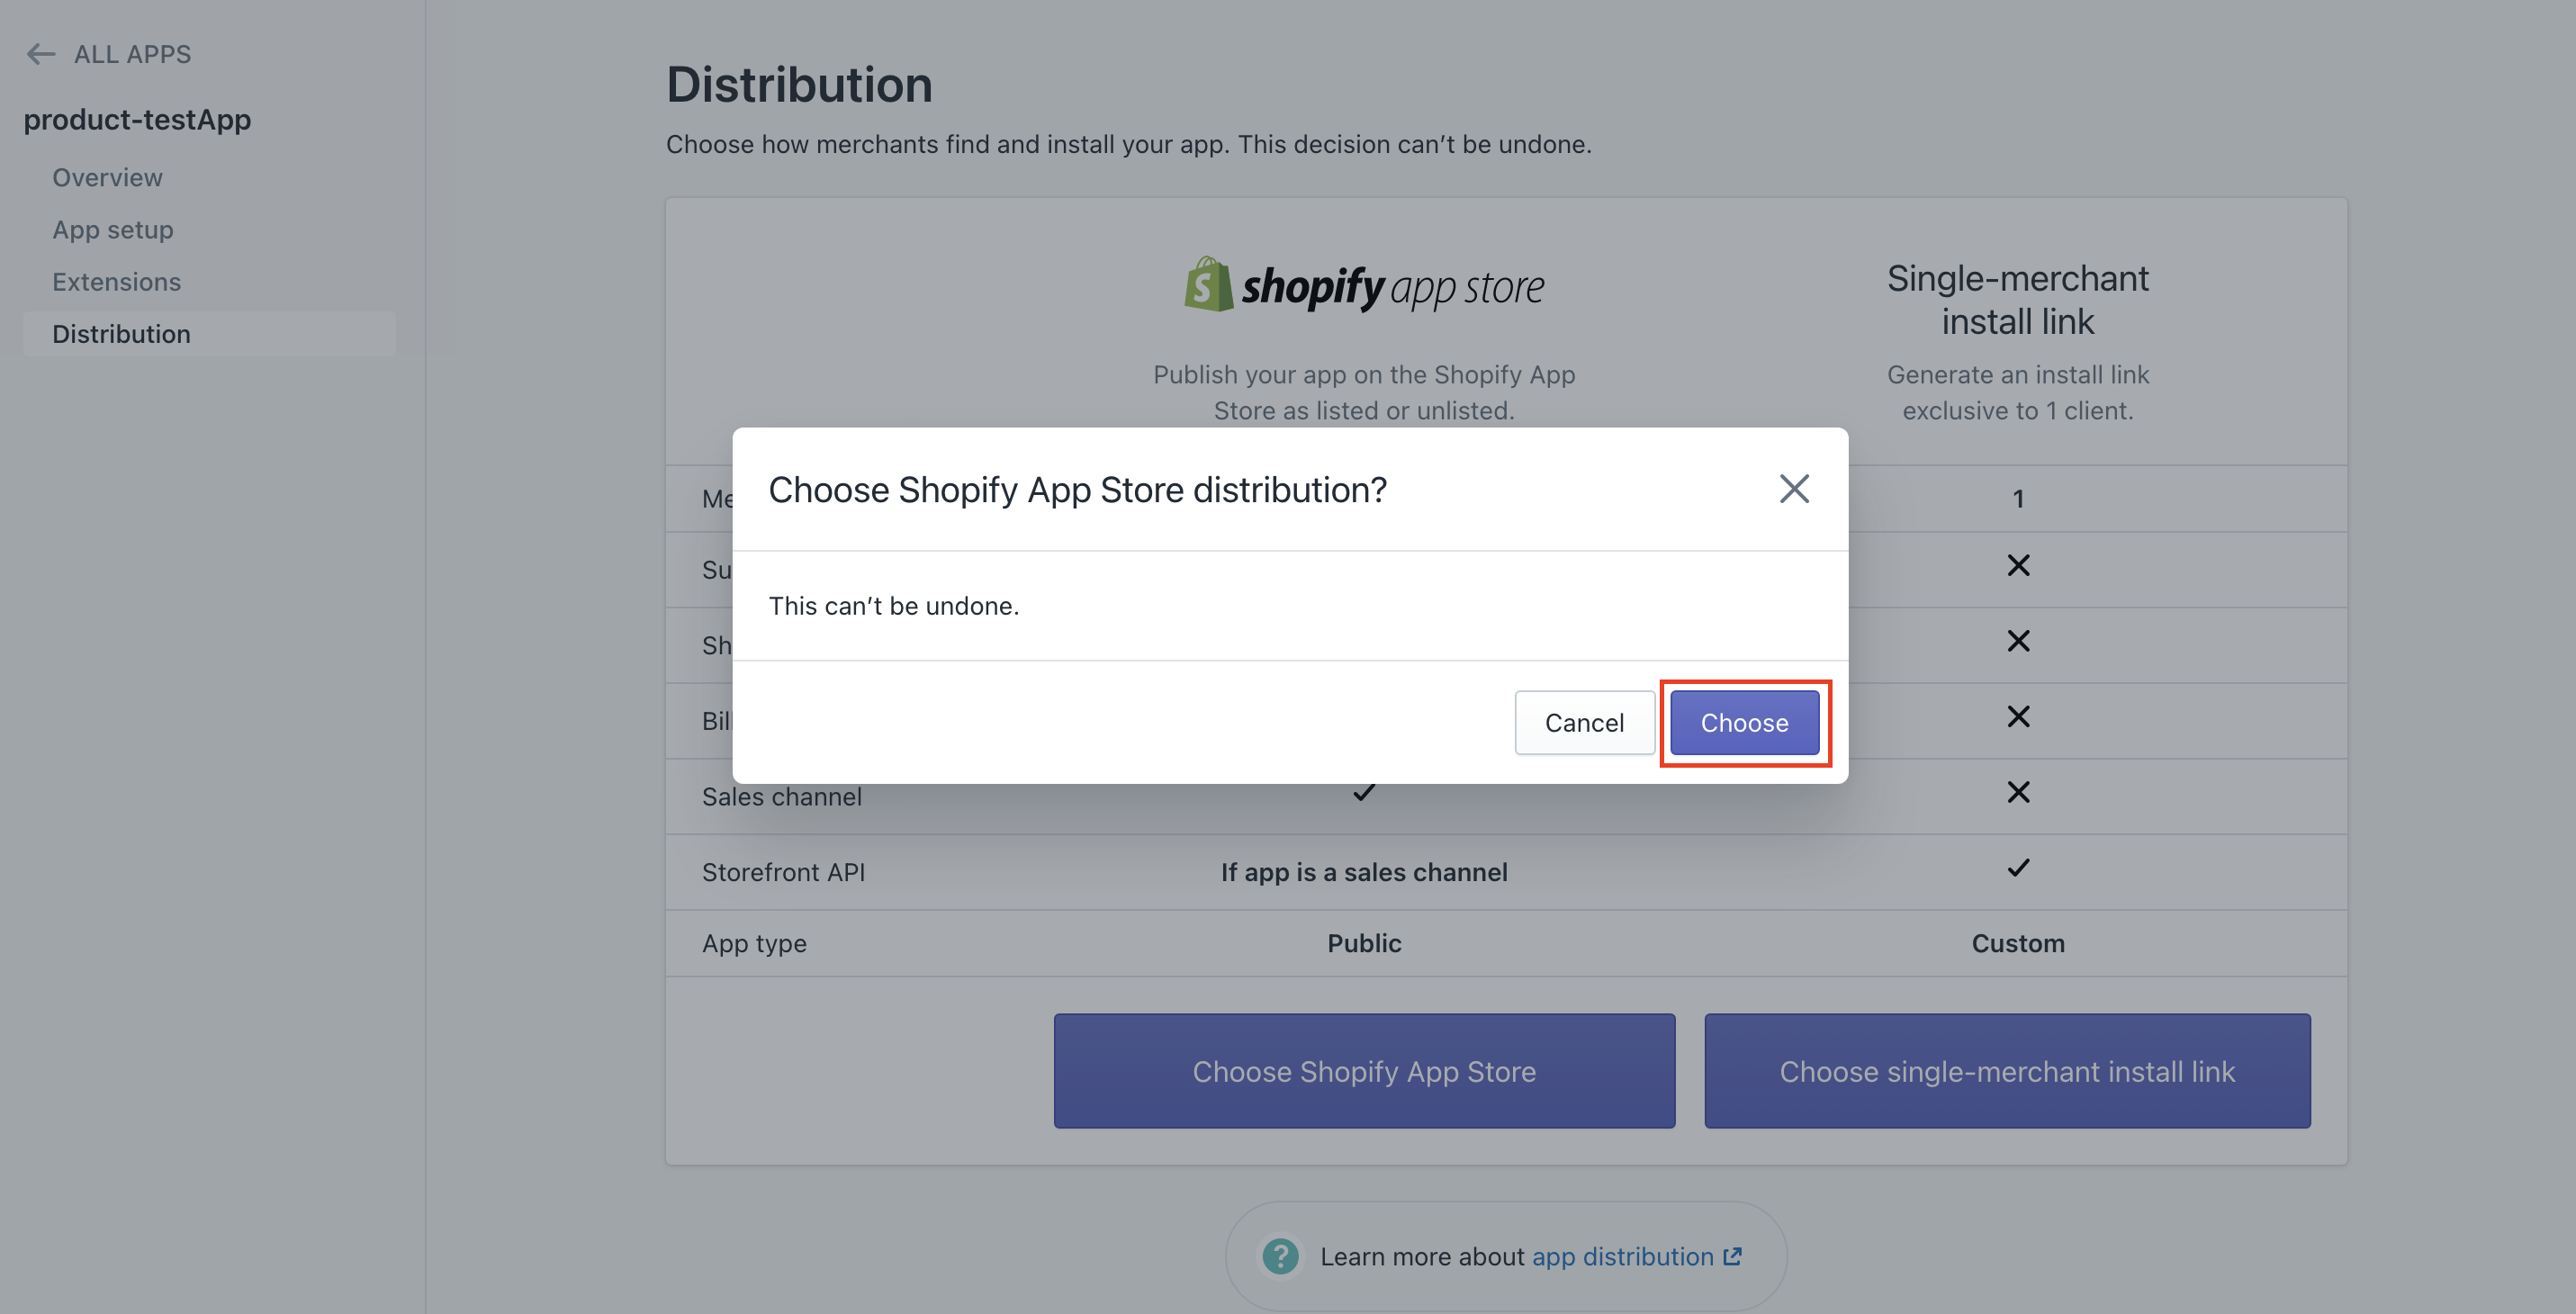
Confirm App distribution in Shopify partner portal. Click to Expand
- Click Create listing. If prompted for authentication, select your Shopify partner account. The App listing page for your app opens.

Choose App distribution in Shopify partner portal. Click to Expand.
- Click App visibility.
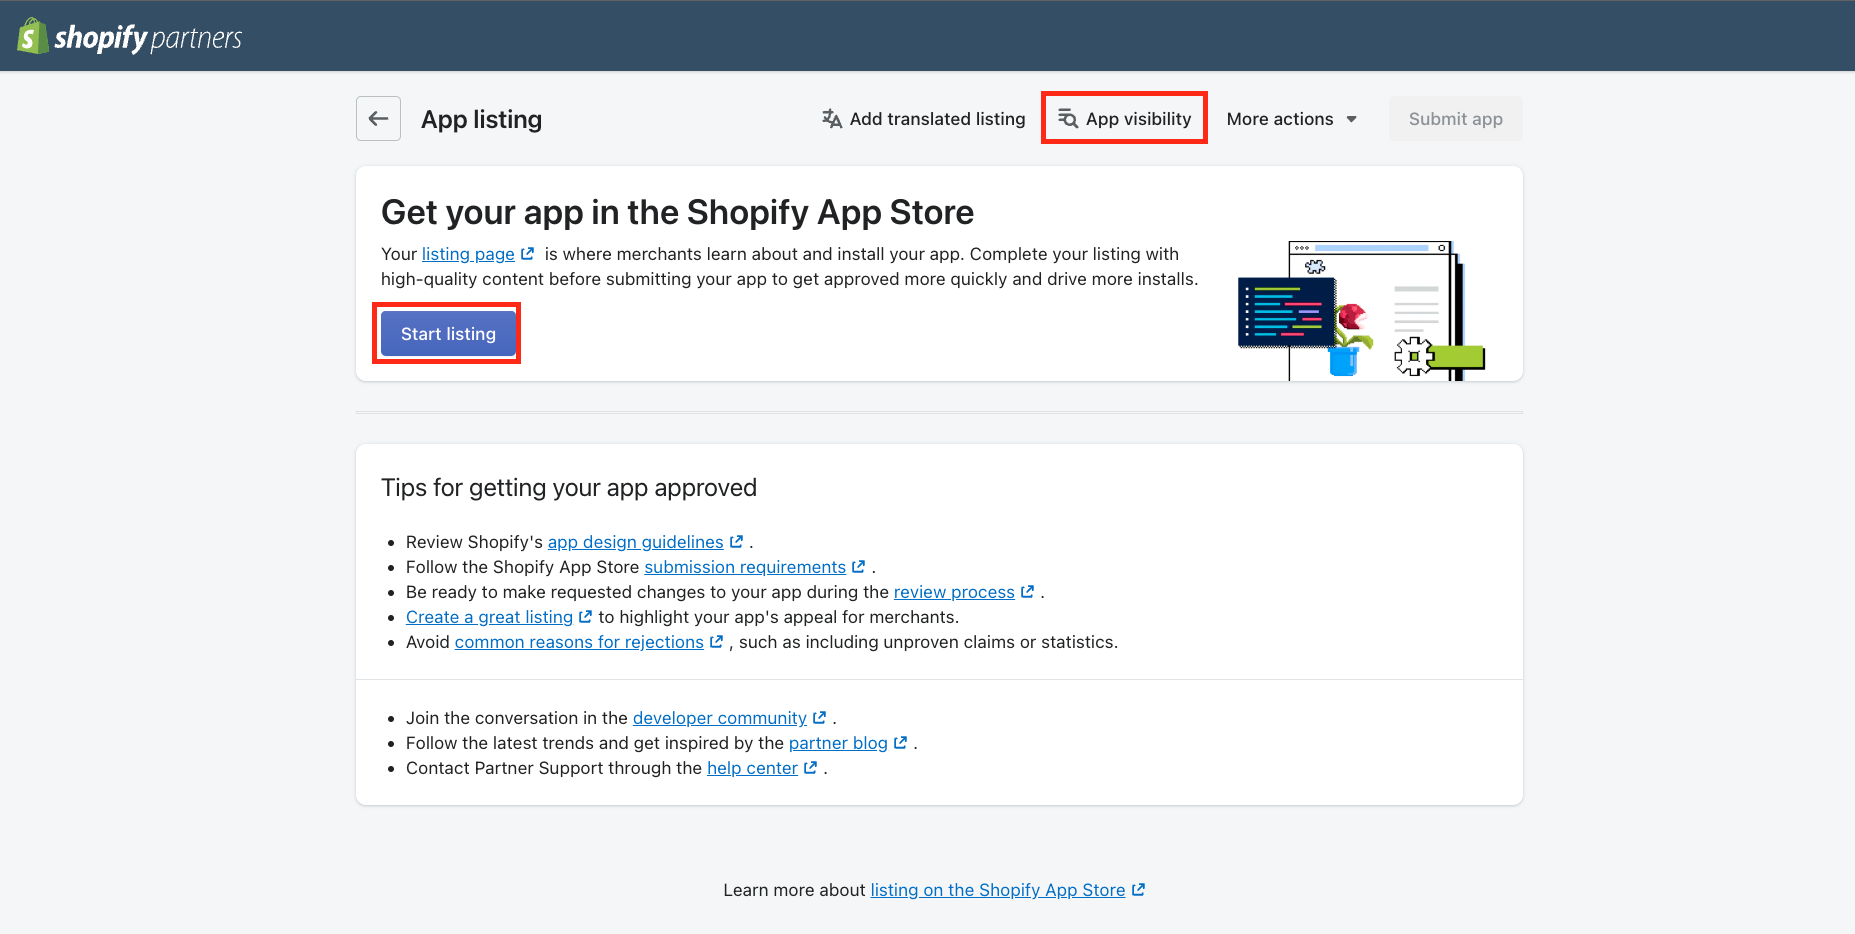
App listing page in Shopify partner portal. Click to Expand
- The Manage app visibility modal will open. Select Unlisted, unless you want your app to be visible in the public Shopify App Store, and click Save.
- Click Start listing. The English listing page is displayed.
- Fill all the required fields for your listing information and click Save
App Visibility
You can choose whether to make your Shopify app listed or unlisted. Both types of apps have a public Shopify App Store URL.
- Listed: Appears on the Shopify App Store and in recommendations to businesses.
- Unlisted: Can be shared directly with merchants, but won't appear on Shopify App Store
- On the App listing page, click Submit app at the top right. The button is not available until you've completed all the required listing information. Once submitted, your app is sent to Shopify for review and approval.
Request access to consumer data
To request access, in the Shopify Partners portal:
-
Go to Apps, and then click the name of your app.
-
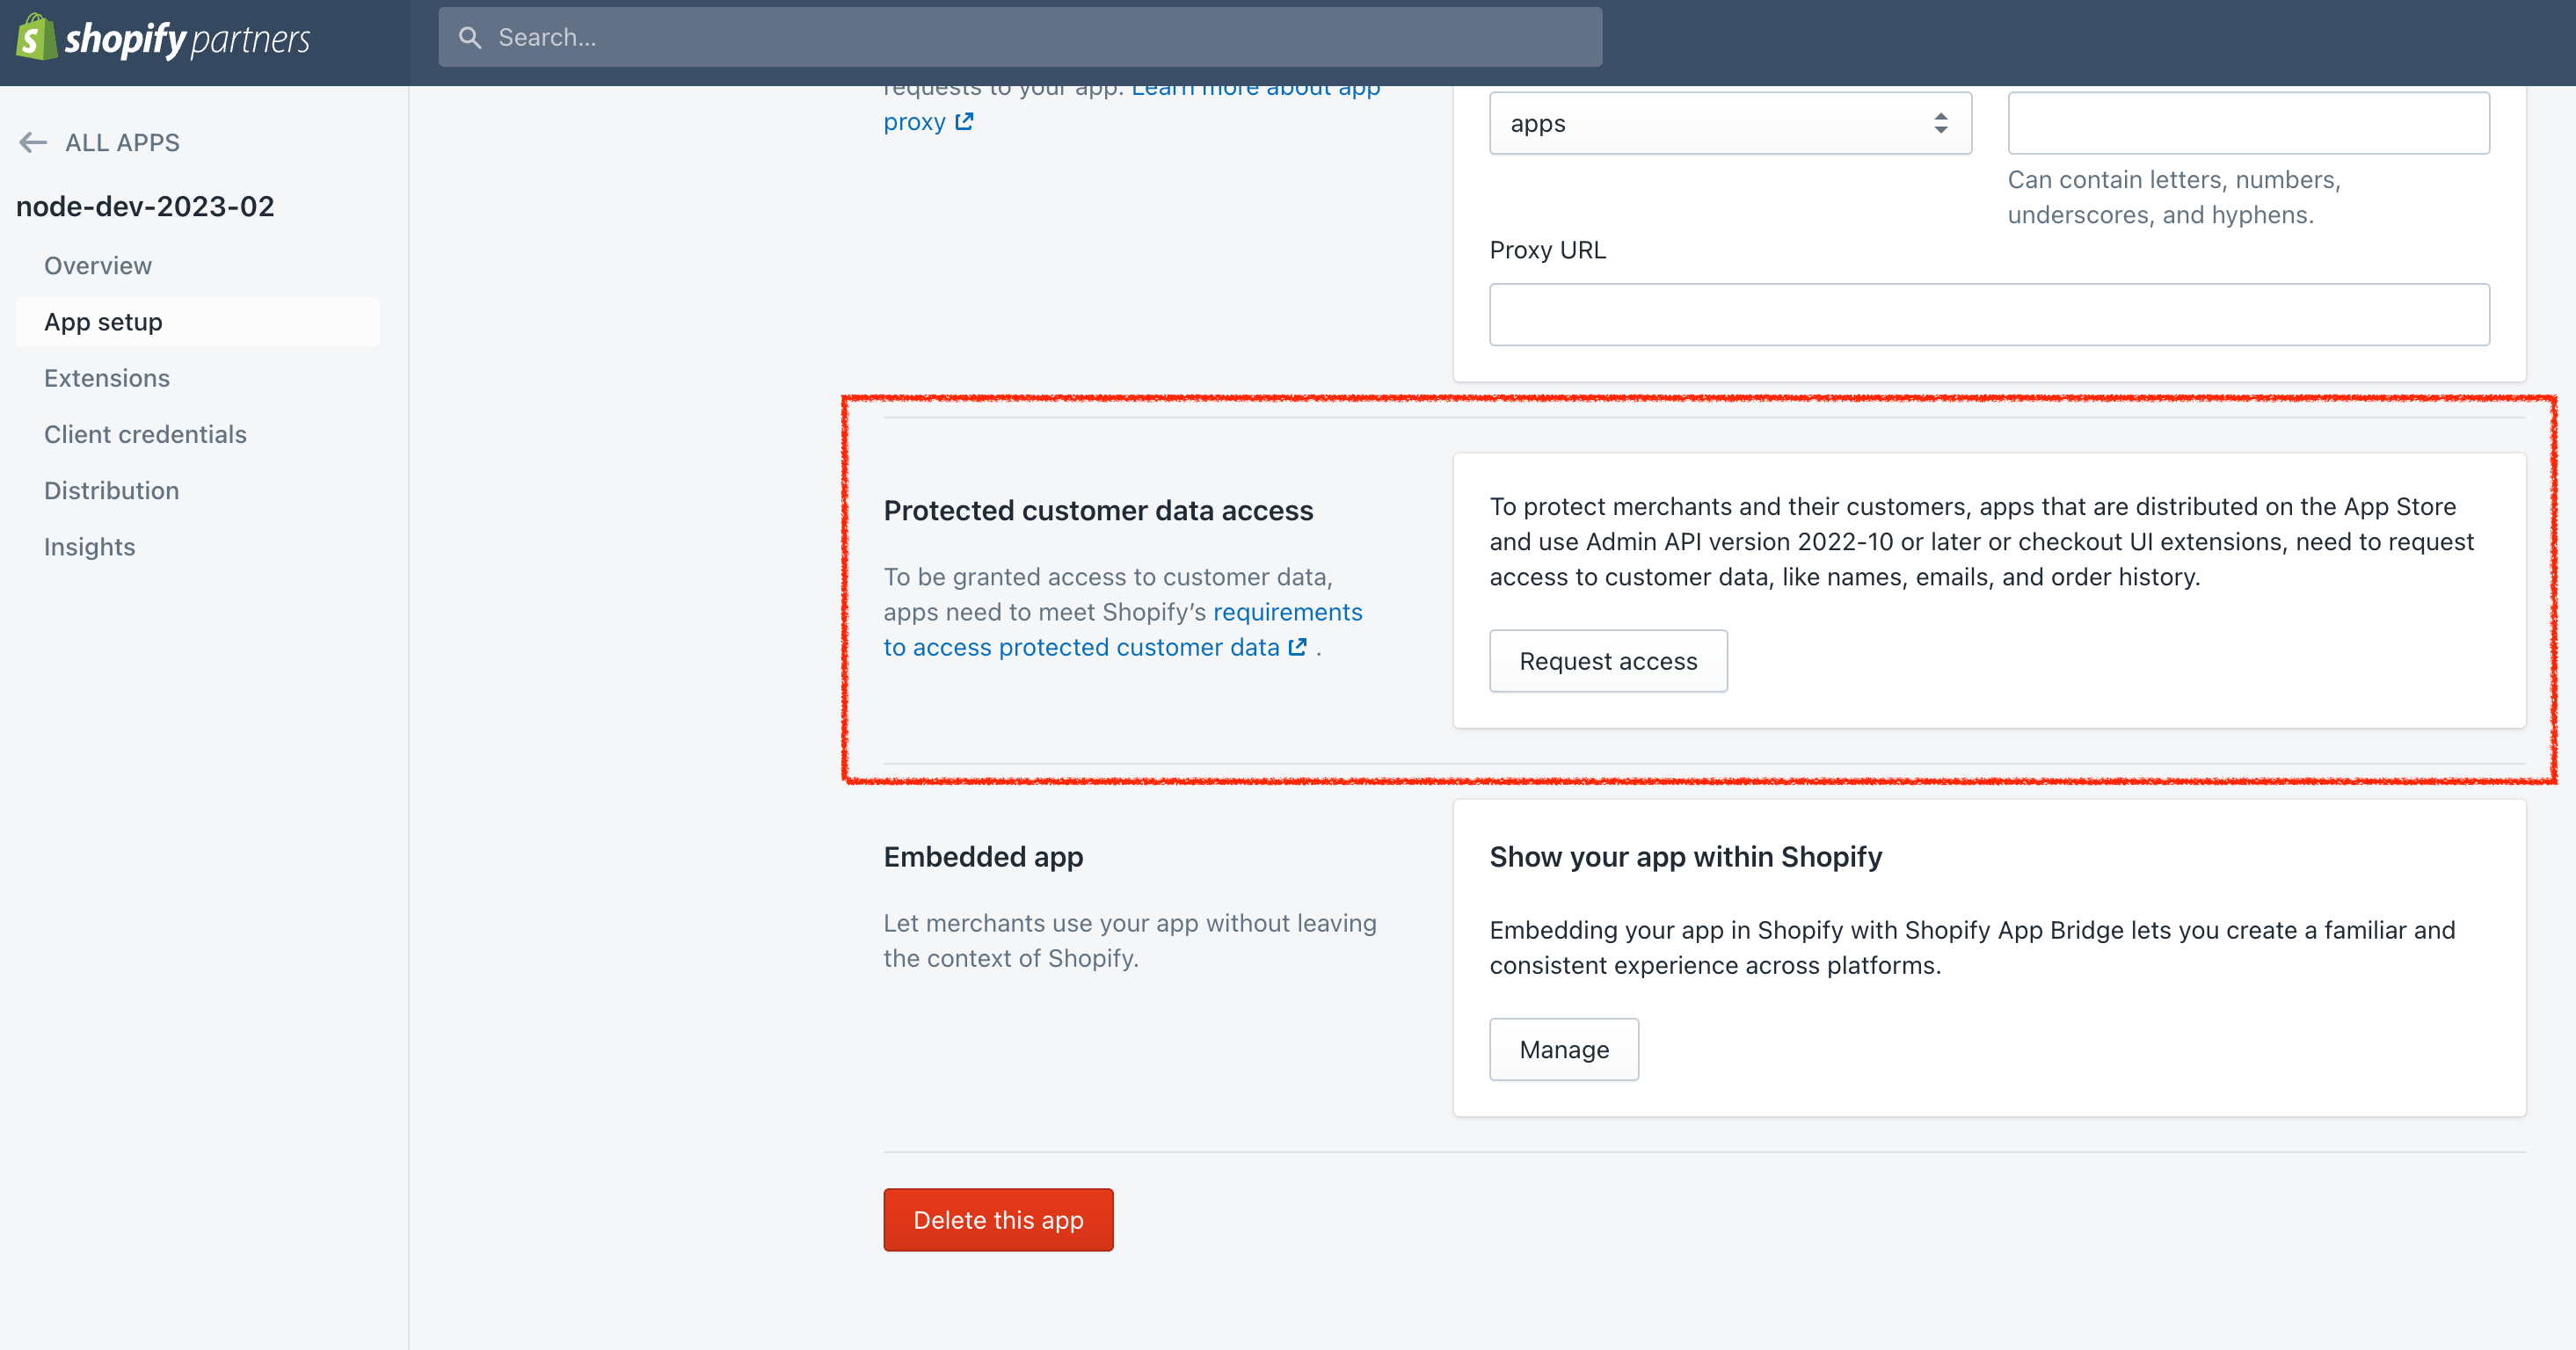
In the sidebar, click App setup.
-
Find Protected customer data access and click Request access.
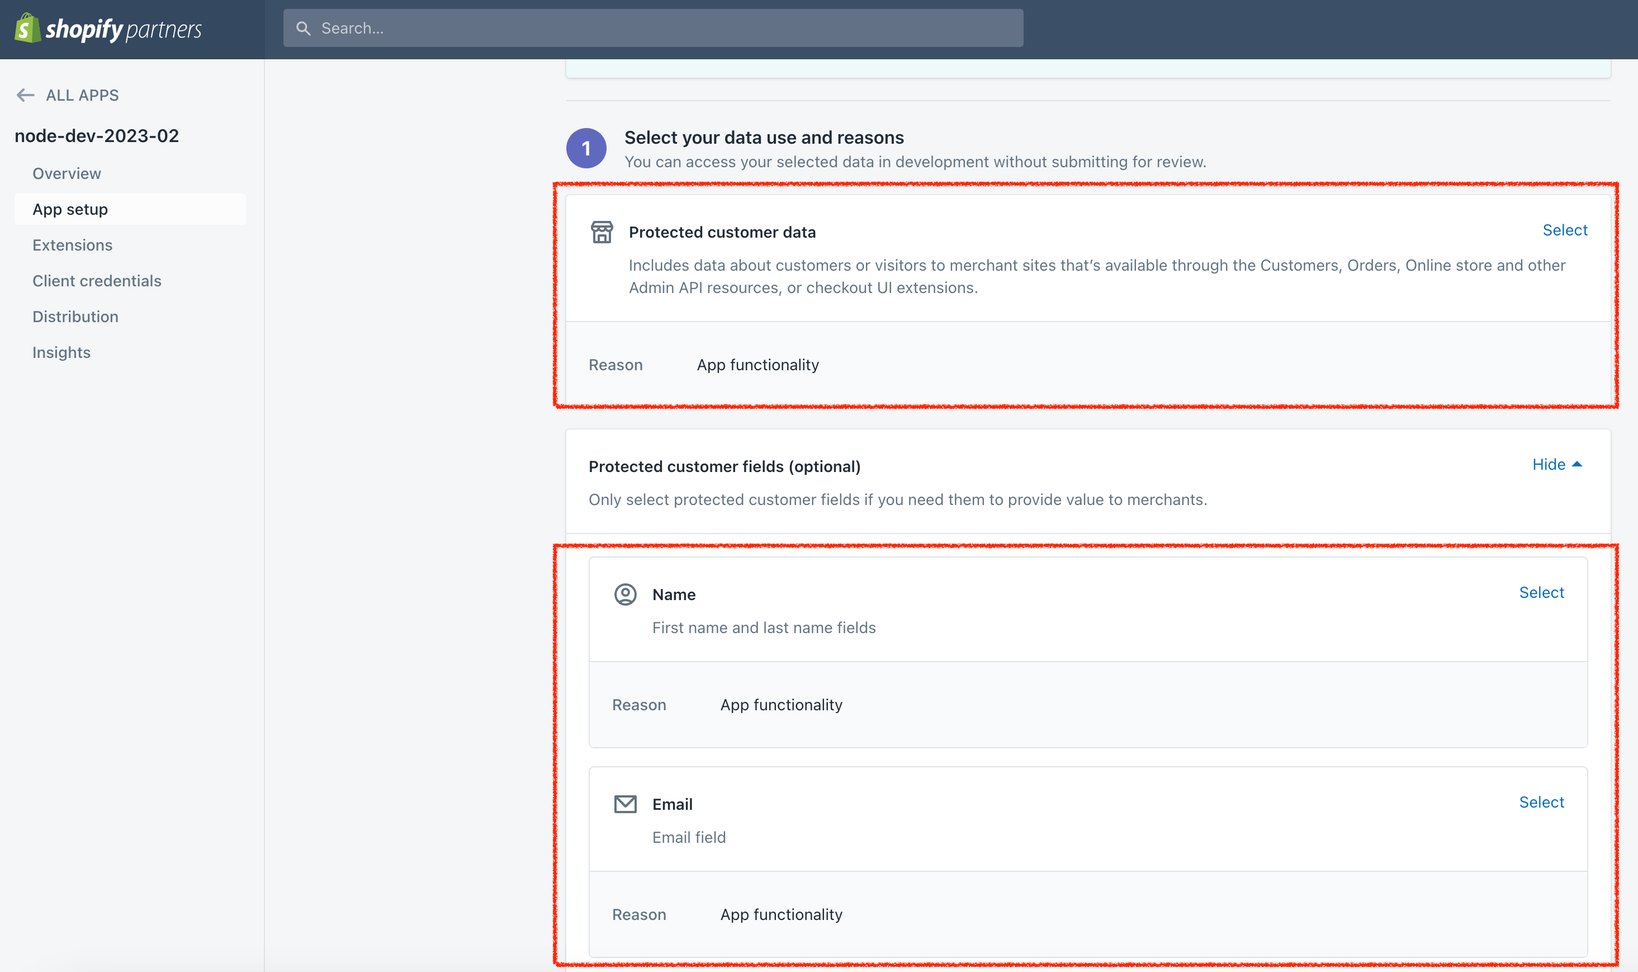
-
Select Protected customer data. Then select the reason to use customer-protected data and then select Name and Email and their respective reasons too. After that click Save.
-
Click Submit for review.
-
You'll receive updates about the status of your review by email and through your Partner Dashboard. The approval can take up to 60 days.
Requesting access to Phone and Address information
After you approval in the previous steps, you will need to repeat them but in this case you will have to select Address and Phone fields.
Add your secure keys to Accounting Data as a Service™
- Open the Dashboard and log in.
- In the left sidebar navigation menu, go to Integrations > Commerce.
- Scroll down to the Shopify integration and click Configure.
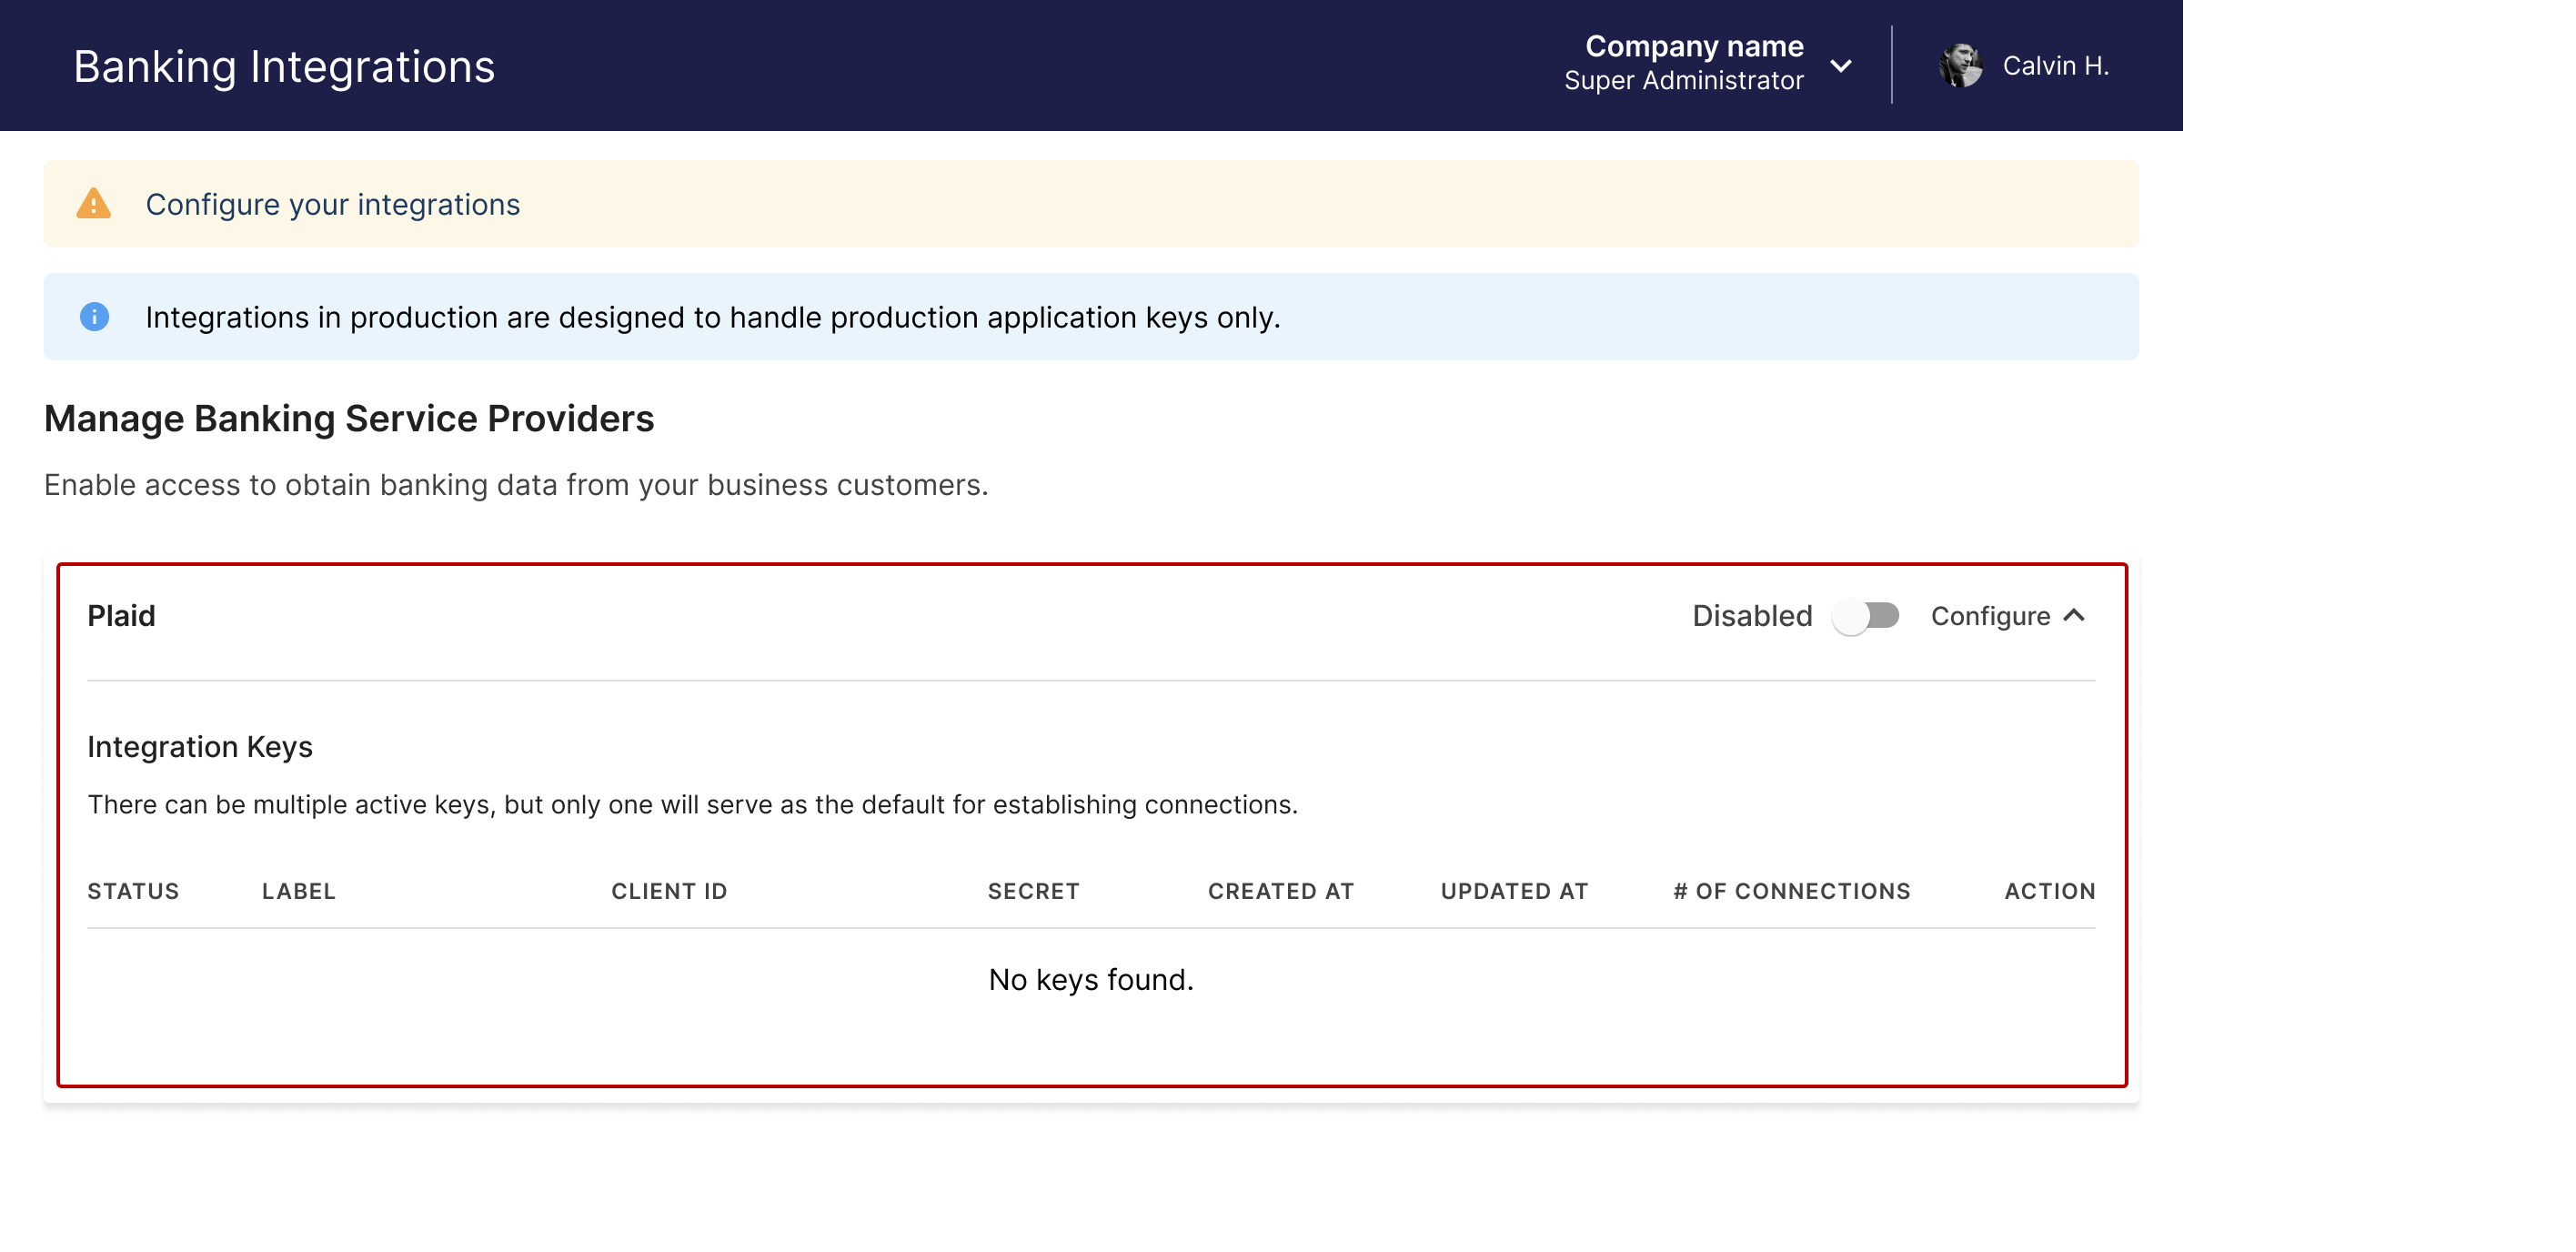
Commerce integrations page in Accounting Data as a Service™ Dashboard. Click to Expand.
- Paste in your Client ID and Client Secret from the above steps, and then click Save & Enable.
- For Client ID, enter the API key from your Shopify app.
- For Client Secret, enter the API secret key from your Shopify app.
- Optional Scope Permissions
- To allow your businesses permission to access orders over 60 days, enable the toggle in the configure settings. Submit your request to Shopify prior to enabling.
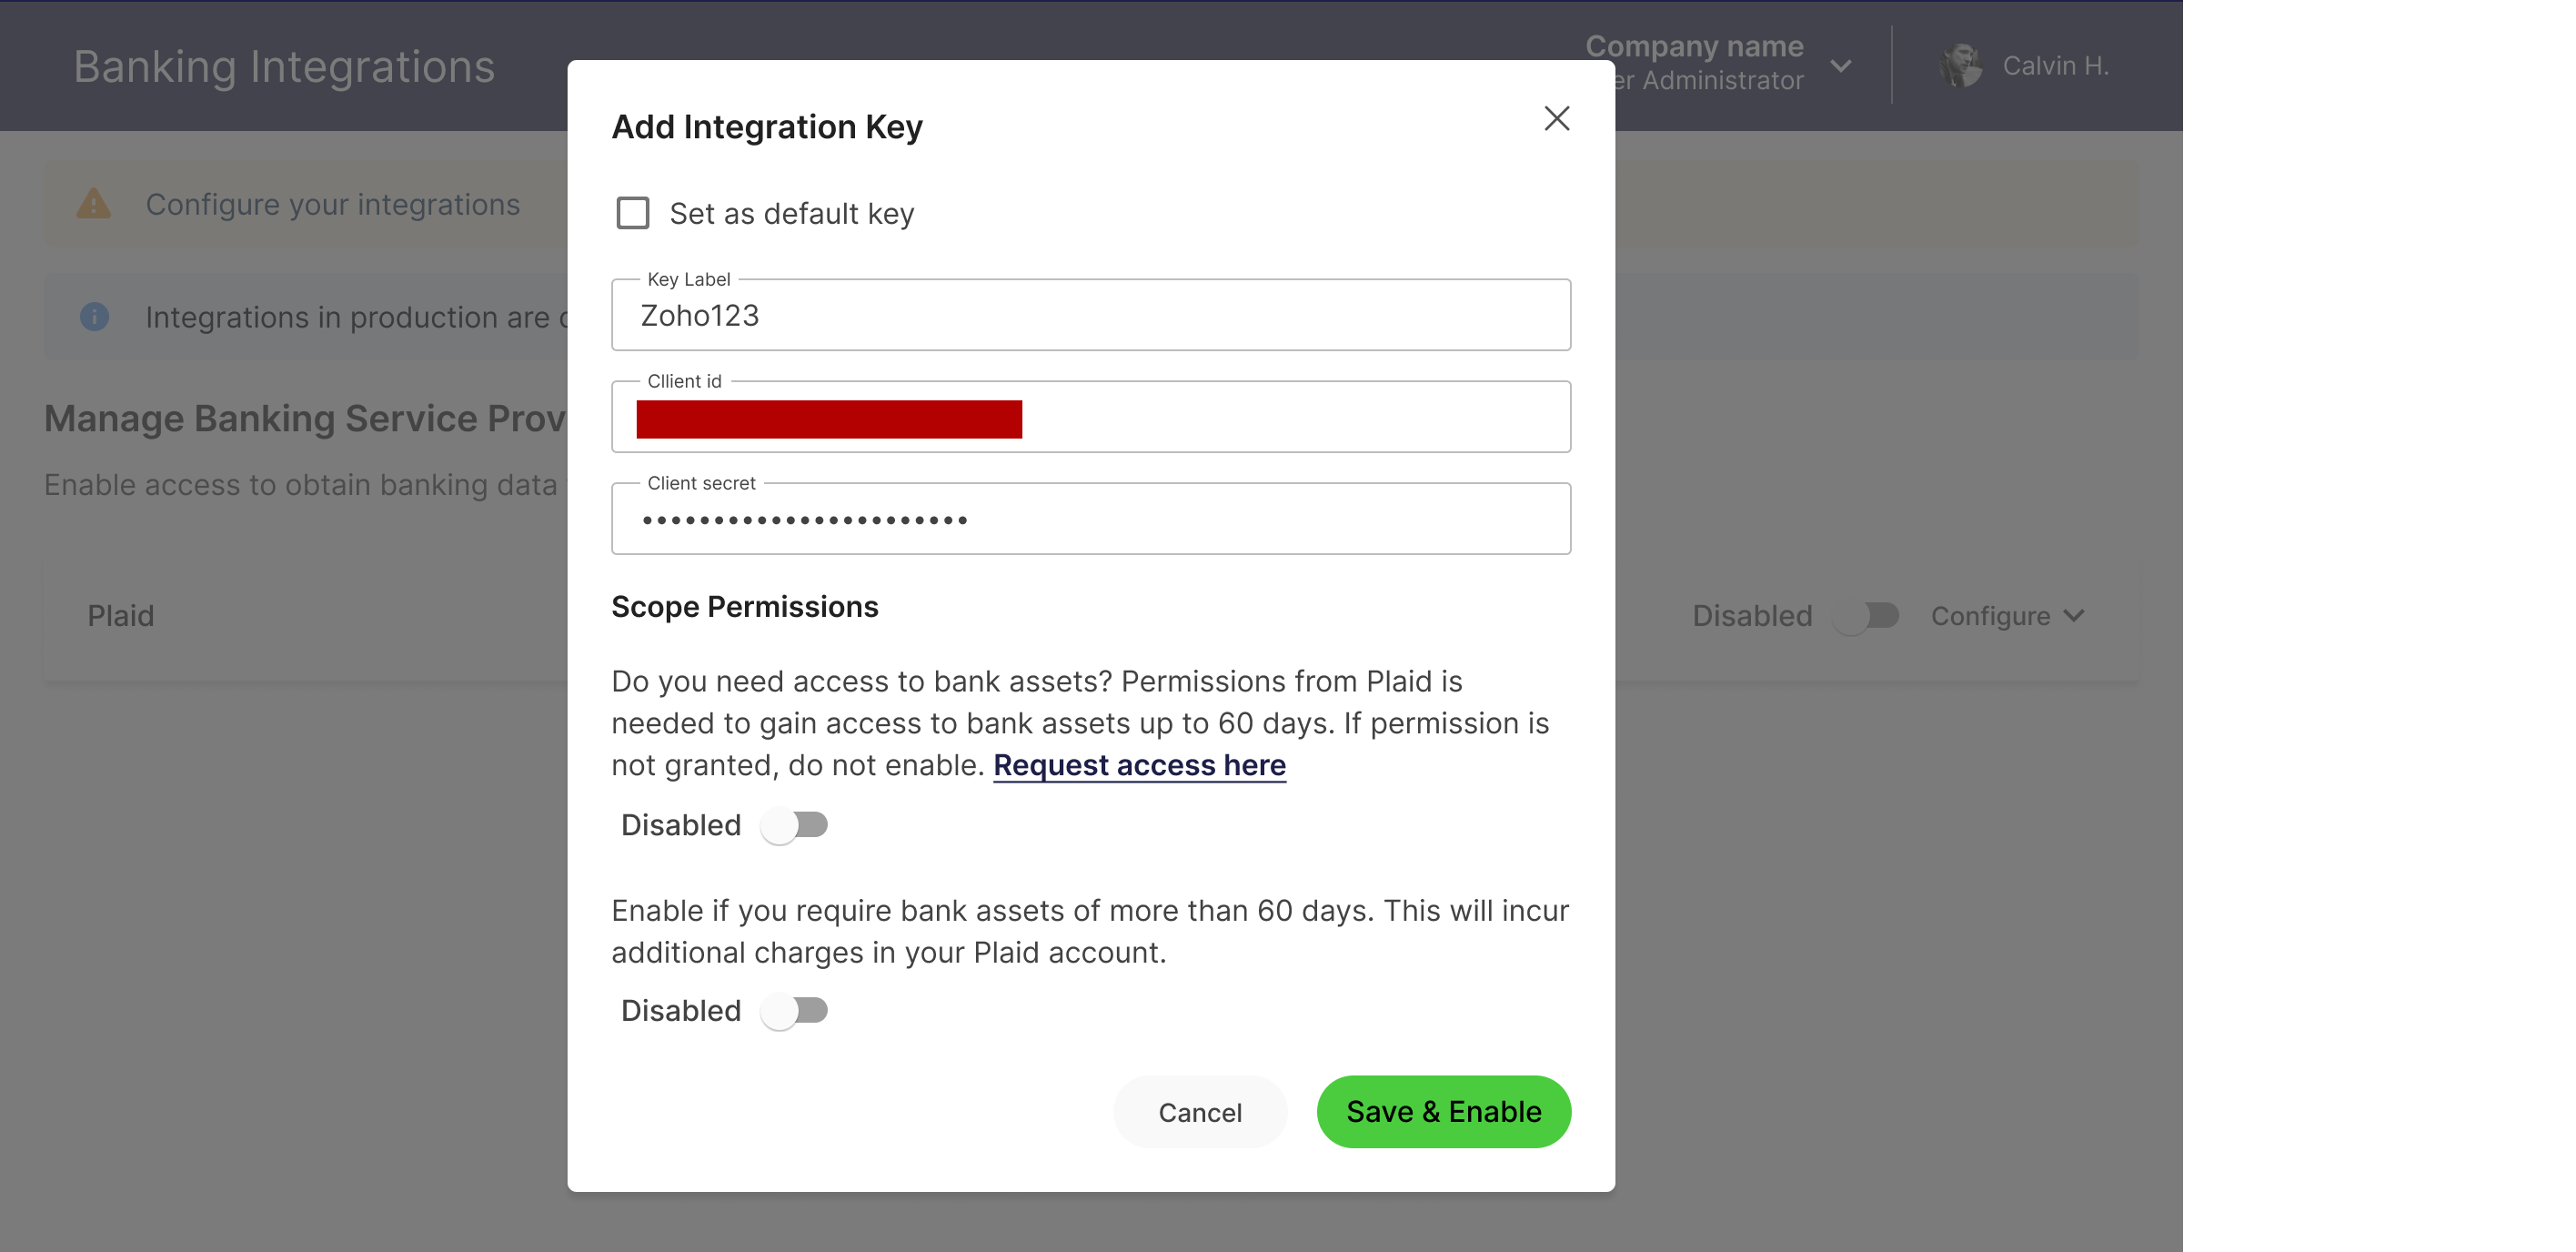
Configure the Shopify integration modal. Click to Expand.
Updated over 1 year ago