
Set up Sandbox
Using Sandbox
The Sandbox can be accessed via the Dashboard. You can enable the Sandbox mode by toggling Enable sandbox option in the left sidebar navigation menu. Once enabled you can access the Sandbox version of Connect, Sites and API Keys.
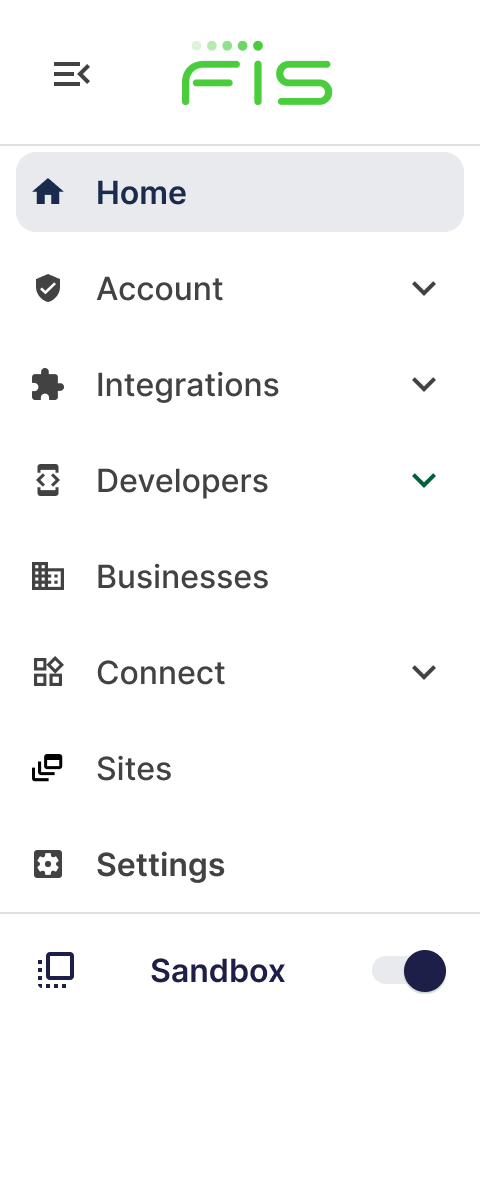
Enable Sandbox in the left sidebar navigation menu of Accounting Data as a Service™ Dashboard
Enabling Integrations in Sandbox
Accounting Integrations
- Open the Dashboard and log in.
- In the left sidebar navigation menu, go to Integrations > Accounting.
- The Sandbox Integration , will be enabled by default, which will allow you access to connect to all the accounting service providers mocked data. All the accounting service providers are grouped under Accounting Data as a Service™Sandbox, see list of supported accounting integrations.
- Quickbooks Online Sandbox, enter Client ID and Client Secret, and then click Save & Enable. For full details on how to obtain your keys, visit Setup QuickBooks Online.
Data Synchronization Times
Data synchronization using Quickbooks Online Sandbox may be delayed if same sandbox account is used multiple times due to Quickbooks Online rate limit.
Banking Integration
- Open the Dashboard and log in.
- In the left sidebar navigation menu, go to Integrations > Banking.
- Plaid, enter Client ID and Client Secret, and then click Save & Enable. For full details on how to obtain your keys, visit Setup Plaid in Sandbox.
Commerce Integrations
- Open the Dashboard and log in.
- In the left sidebar navigation menu, go to Integrations > Commerce.
- Shopify, enter Client ID and Client Secret, and then click Save & Enable. For full details on how to obtain your keys, visit Setup Shopify.
- Square, enter Client ID and Client Secret, and then click Save & Enable. For full details on how to obtain your keys, visit Setup Square.
Updated over 1 year ago
Did this page help you?