Quickstart & Example Apps
Learn how to include Connect into your web applications with ease.
This quickstart is specifically meant for developers. It will take you through the basic steps required to install the Accounting Data as a Service™ Connect SDK. You should have gone through the Quickstart for Developers pages before proceeding with this quickstart.
This QuickStart is specifically using the Sandbox environments.
We've built a set of quickstart and example outputs to get you to incorporate the Connect into your application fast and with ease. Start by cloning the quickstart examples and running Connect on your local machine. If you don't need an example, you can skip to Setup Connect SDK.
To begin using the examples, you'll need to do the following
- Sign up on the Dashboard
- Setup an Integration on the dashboard by following these steps in sandbox mode
- To get your widget identifier through the dashboard, go to Connect > Setup in the left sidebar navigation menu of the Dashboard.
- Clone Connect GitHub repository.
- Replace the code base with the
widgetId. - Build and run your application to make use of Connect
Prerequsites
Before getting started, make sure you have Node.js and npm installed. Windows users should make sure they have a terminal capable of performing basic Unix shell commands.
Quickstart Example Apps Setup
1. Clone the Connect GitHub Repository
# clone the repository
git clone https://github.com/railz-ai/railz-connect.git
cd angular
2. Add your widgetId
widgetIdOpen the src/app/app.component.ts file and replace your widgetId on line 17.
3. Build and Run Example Angular App
Install dependencies and start the example backend app. Your application server will be running at http://localhost:4200.
# Install dependencies
yarn

# Start the backend app
yarn start

# Application should run at http://localhost:4200
4. Display Connect
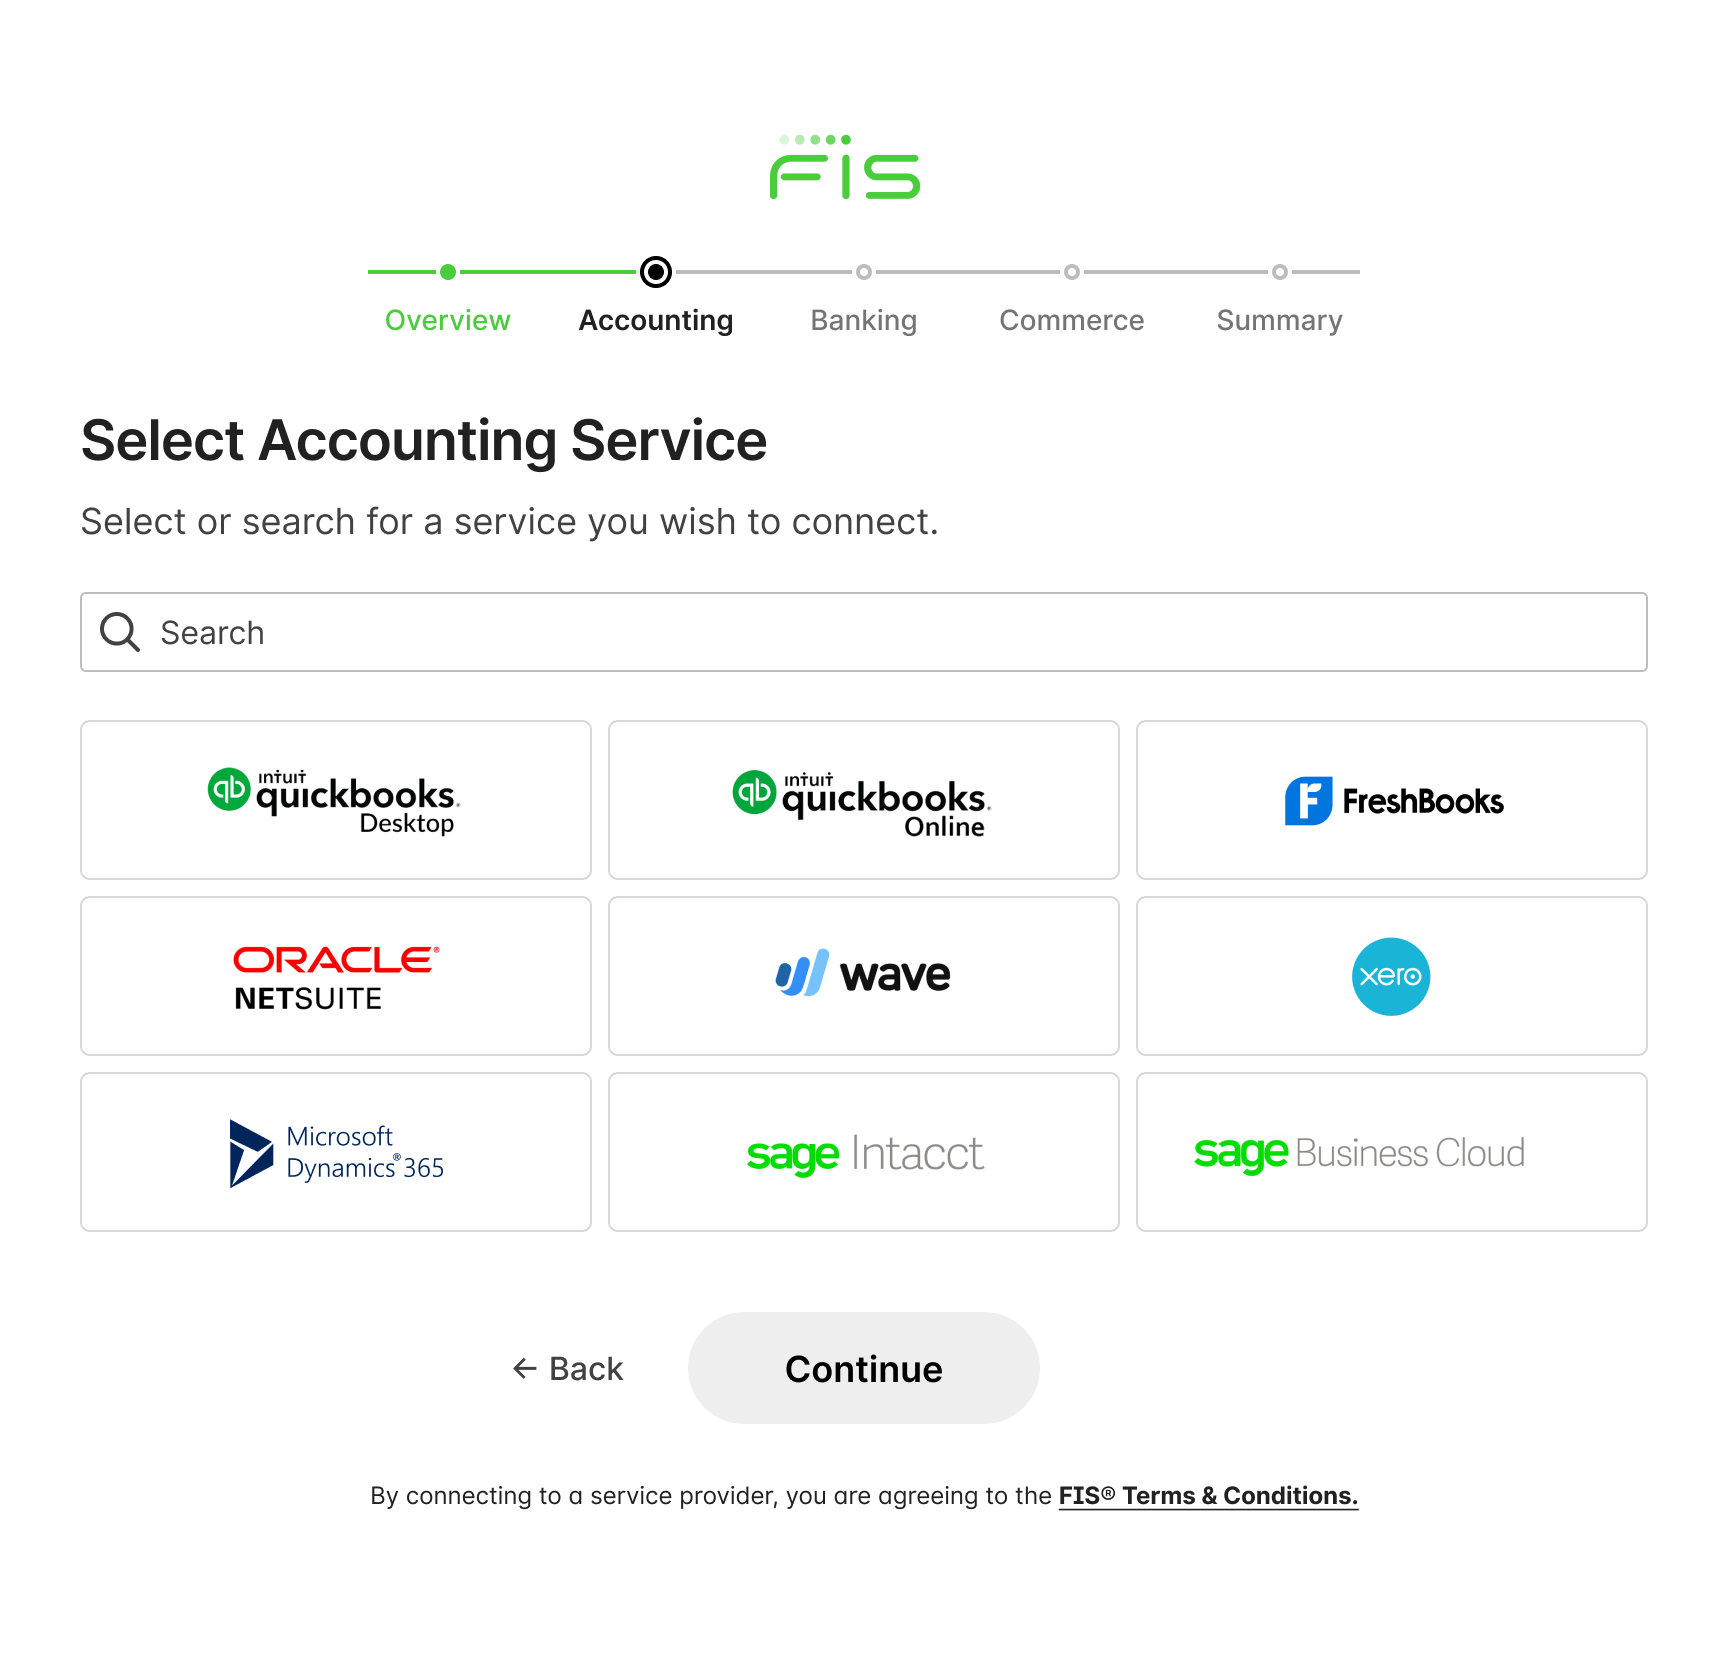
At this point, you should launch Connect using the application server URL http://localhost:4200.

Connect service provider selection page. Click to Expand.
Updated over 1 year ago